
Key facts in 20 seconds
- A garage door has three seals: the bottom seal on the door, the perimeter (jamb/header) weatherstrip nailed to the frame on the sides and top, and the section seals between panels. Most “cold garage” complaints are the perimeter strip.
- Perimeter weatherstrip comes as vinyl-wrapped wood stop (the builder standard), PVC/vinyl stop with an integrated flap (the replacement standard), aluminum-backed rubber (commercial / heavy use) and brush seal (where the door rubs).
- Sizes: the flap is usually 1-1/4″ to 2″ wide; the stop molding is sold in 7-, 8-, 9- and 16-foot lengths. Measure the jamb width (typically 2″ or 2-1/2″) before buying.
- The flap must touch the door face with light, even pressure. Too tight and it drags, ices to the door and tears; too loose and you see daylight. Set it with the door closed.
- In Minnesota the usual killers are UV-brittle vinyl (cracks in 7-10 years), ice bonding the flap to the door, rodents chewing the corners and snowplow / mirror hits on the side stops.
- Replacing the side and top strip is a 1-2 hour job; it is included in a new door install and is the single cheapest fix for drafts and mice.
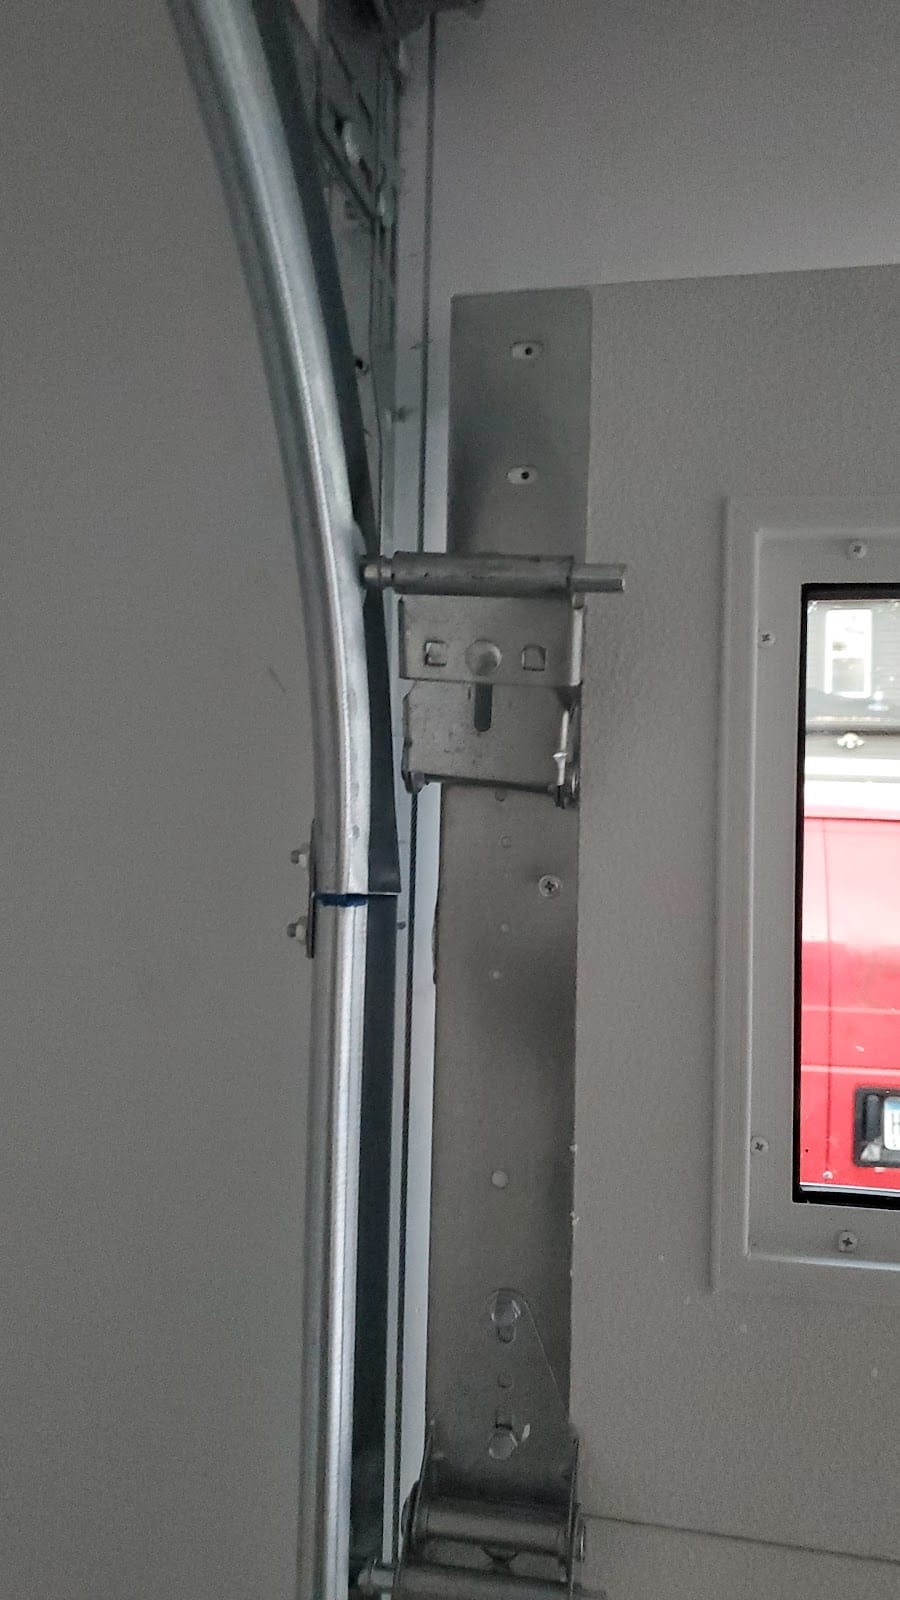
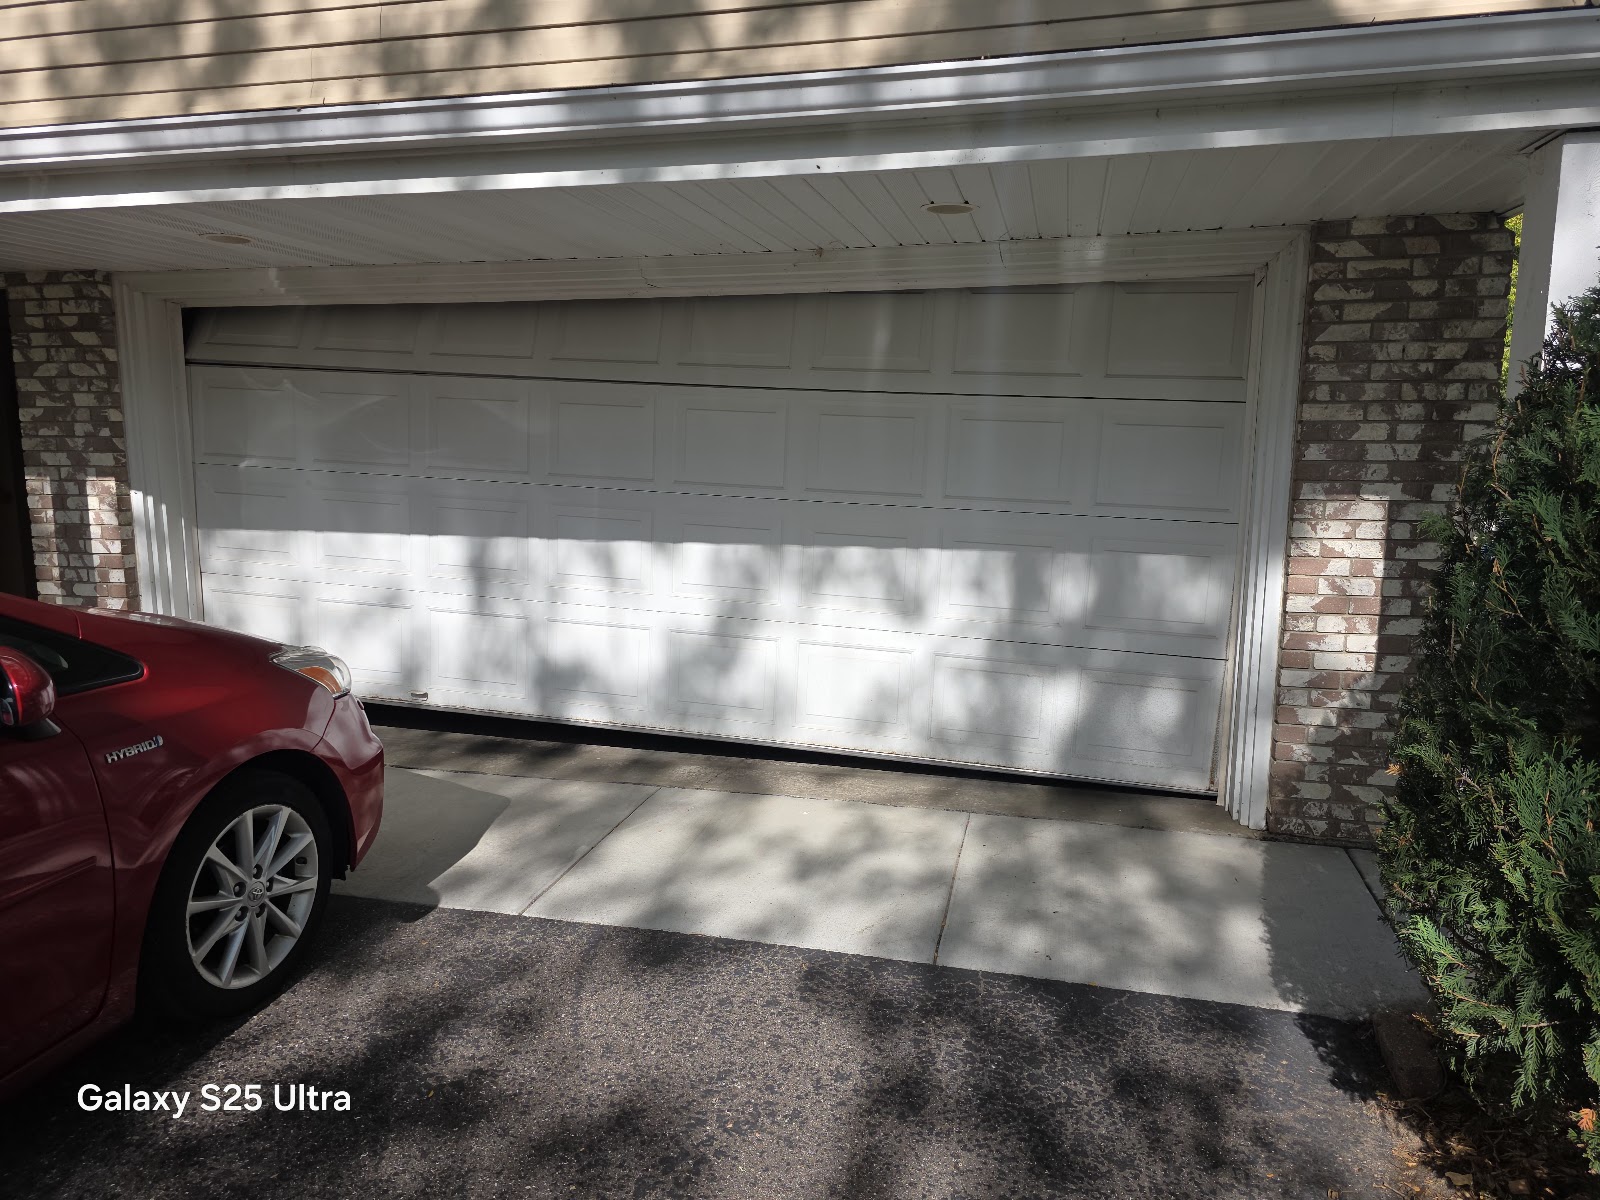
The bottom seal gets all the attention, but on most of the garages I open up in the west metro the cold air, the drifted snow and the mice are coming in along the sides and top, through perimeter weatherstrip that was nailed up when the house was built and has been baking in the sun since. This guide covers the types of side and top weatherstrip, how to tell which seal is leaking, how it is measured and installed, and what works in a Minnesota winter.
The three seals on every garage door
- Bottom seal (astragal): the rubber on the bottom of the door. Covered separately in bottom seal types.
- Perimeter weatherstrip (jamb and header seal, “stop molding”): the strip along both sides and across the top of the opening, attached to the frame, with a flexible flap that touches the outside face of the door. This article.
- Section seals: the joints between panels. Built into the door; they wear only when a panel is dented or the door is old.
Perimeter weatherstrip types
| Type | What it is | Pros | Cons | Typical use |
|---|---|---|---|---|
| Vinyl-wrapped wood stop | Pine stop molding with a vinyl skin and a flexible flap | Cheap, paints, nails like wood | Wood rots at the bottom foot where snow sits; vinyl skin cracks | What most builders install; the one you are probably replacing |
| PVC / vinyl stop with flap | Solid plastic stop molding with the flap molded in | Never rots, no paint, stays flexible to about -20°F, 16-ft lengths cut cleanly | Can get brittle in extreme cold if bent; limited colors (white, brown, almond, grey) | The standard replacement I install |
| Aluminum-retainer rubber seal | Aluminum channel screwed to the jamb, EPDM or vinyl blade slides in | Blade replaceable without removing the channel; stiffest, best for wind | Costs more; looks industrial | Commercial doors, lake-side homes with wind, high-use doors |
| Brush (bristle) seal | Nylon bristles in an aluminum holder | Does not freeze to the door, takes an uneven gap, quiet | Lets fine snow through; not a draft stopper on its own | Side gaps where a flap would drag, commercial |
| Reverse-angle jamb seal | Flap faces into the garage, mounted on the inside of the jamb | Hidden from outside, protects from plow damage | Harder to inspect | Doors where the outside stop keeps getting hit |
Which seal is leaking? A quick diagnosis
| What you notice | Likely seal | Fix |
|---|---|---|
| Daylight at the top corners, cold spot above the door | Top (header) strip pulled away or flap bent outward | Re-set or replace the header piece; it takes the most abuse from the door closing against it |
| Snow or leaves blowing in along one side | Side strip gap; door not centered in the opening | Replace the side strip; have the door adjusted if it leans – see crooked door |
| Flap frozen to the door, door strains or reverses in the morning | Ice bond between a vinyl flap and the door skin | Silicone spray on the flap in November; set the opener limits so the door does not crush the seal |
| Light under the door, a cold draft at floor level | Bottom seal, not the perimeter | See bottom seal types |
| Light between panels when the door is closed | Section (panel) joints: dented panel or worn tongue-and-groove | Panel replacement or a new door |
| Mouse droppings inside, chewed corner of the strip | Rodent entry at the bottom 6 inches of the side strip | Replace that corner, add a rodent-proof threshold or brush at the corner |
The ten-second test: stand inside with the lights off and the door closed on a bright day. Light at the corners and along the sides is the perimeter strip; a line of light at the floor is the bottom seal; horizontal lines are section joints.
Measuring for replacement
- Jamb width. Measure the flat face of the side jamb the stop sits on. Most are 2″ (a 2×4 on edge) or 2-1/2″; the molding is sold to match.
- Lengths. Two side pieces of door height plus 1 inch (7-ft door = two 8-ft pieces; 8-ft door = two 9-ft pieces) and one top piece of door width plus 2 inches. A 16-ft door takes a 16-ft header or two pieces joined over the center with a bead of sealant.
- Flap width. The gap between the door face and the stop is normally 1/2″ to 3/4″; a 1-1/4″ to 1-3/4″ flap covers it. If the door sits deep in the opening you need the 2″ flap.
- Color. White, brown, almond, grey and black are stock; vinyl stop does not paint well, so match it rather than plan to paint.
How it is installed (the way it stays sealed)
- Pull the old stop, scrape the jamb, and check the bottom 12 inches of the wood jamb for rot. Rotten jamb bottoms are common behind a wood stop that sat in snow for twenty winters; I cut and splice them before the new strip goes on.
- Close the door and leave it closed for the whole install. The seal is set against the door, not the opening.
- Start with the header. Hold the strip so the flap just touches the top panel, nail or screw every 12-16 inches, flap pressed, not folded.
- Do the sides from the top down, keeping the same light pressure all the way. Where the door is slightly out of plumb, follow the door, not the jamb.
- Cut the bottom of each side piece about 1/4″ above the floor so it does not sit in meltwater, and seal the top corners with exterior caulk.
- Run the door through the opener and check it does not drag; drag means it will ice up and tear by February. Re-set the opener down limit if the new seal is thicker than the old one.
Minnesota notes from the field
- Ice bonding. A vinyl flap pressed hard against a steel door will freeze to it after a wet snow. A light silicone spray on the flap in late fall prevents it; so does not over-tightening the flap in the first place.
- Plow and mirror damage. The outside side stops on a driveway-facing door get clipped by plow blades and truck mirrors. If yours is hit every winter, a reverse-angle seal on the inside of the jamb or an aluminum-retainer seal stands up better.
- Mice. They enter at the bottom corners where the side strip meets the bottom seal. A tight corner, a rodent-resistant bottom seal and a brush strip at the corners close that route; it is the first thing I check on a “mice in the garage” call.
- Insulated doors. A good R-value door with a leaking perimeter is still a cold garage. If you are investing in an insulated door, replace the perimeter strip at the same time; it is part of every new door install I do. More on the insulation side in the R-value guide.
- Lifespan. Vinyl in direct afternoon sun goes brittle in 7-10 years on the south and west sides; north-facing doors last longer. Replacement is a routine part of a maintenance visit when it is cracked.
Related guide: after the jamb seal, the next question is usually the panel itself: garage door insulation kits, worth it or not.
Garage door side and top weatherstrip – FAQ
What is the weatherstrip on the sides of a garage door called?
It is the perimeter weatherstrip, also called jamb seal, stop molding or door stop with flap. It is attached to the frame on both sides and across the top and has a flexible flap that touches the outside face of the door. The seal on the bottom of the door itself is a separate part, the bottom seal or astragal.
How do I measure garage door weatherstripping?
Measure the flat face of the jamb (usually 2 or 2-1/2 inches), the door height plus one inch for each side piece, and the door width plus two inches for the top. The flap should be 1-1/4 to 2 inches wide depending on the gap between the door face and the stop.
Can I replace garage door weatherstrip myself?
Yes, with the door closed, a pry bar, a saw and a nail gun or screws. The key is setting the flap with light, even pressure against the closed door. If the jamb bottoms are rotten or the door is out of plumb, have it done with a door adjustment.
Why does my garage door freeze to the weatherstrip?
Wet snow or melt refreezes between a vinyl flap and the steel door, especially when the flap is pressed too hard. Spray the flap with silicone before winter, do not over-tighten the strip, and make sure the opener limits do not crush the seal.
How long does garage door weatherstrip last?
Vinyl perimeter strip usually lasts 7 to 10 years in direct sun and longer on shaded doors. Replace it when it is cracked, pulled away at the corners, chewed, or when you can see daylight around the closed door.
Owner-operated from St. Louis Park, about one hour away for most calls in Edina, St. Louis Park, Plymouth, Minnetonka, Golden Valley, Hopkins, Bloomington and the rest of the west metro. Call or text (763) 265-7671.